How to Make Sourdough Starter From Scratch
There is something incredibly satisfying about making your own sourdough starter from scratch. It feels a little bit like kitchen magic. With nothing more than flour, water, time, and patience, you can create a living culture that helps bake beautiful loaves of homemade sourdough bread for years to come.
When I first started learning about sourdough, I assumed it would be complicated. I pictured professional bakers measuring everything with scientific precision and carefully tending to mysterious jars of bubbling starter. The truth is much simpler. Making a sourdough starter is surprisingly easy, even for beginners.
If you’ve been wanting to learn how to make your own sourdough starter, this guide will walk you through the entire process step by step.
More to read:
- 22 Sourdough Discard Recipes You Simply Have to Try!
- Focaccia Bread Recipes and Beginner Guide to Baking Focaccia at Home
- Food From Scratch: What It Means and Why I Love Cooking This Way
Note by Nell
If you’re looking to learn more about sourdough, I highly recommend checking out Farmhouse on Boone. Lisa Bass is often considered the “sourdough queen” by home bakers thanks to her extensive collection of beginner-friendly recipes, step-by-step tutorials, and practical sourdough advice. As a homeschooling mom and longtime advocate of from-scratch cooking, Lisa has helped thousands of people gain the confidence to start baking with sourdough. Her website is packed with helpful resources, from sourdough starter guides to sandwich breads, artisan loaves, discard recipes, and more. She also offers a comprehensive sourdough course called Simple Sourdough, where she teaches everything from the basics of maintaining a starter to advanced baking techniques and specialty recipes. If you’re serious about improving your sourdough skills, her website and course are excellent places to continue your learning journey.
Affiliate links may be used in this post, and if so, I will receive a commission at no extra cost. I’m also part of the Amazon Affiliate (Associate) program, where I earn a commission from sales made through my affiliate links. Read the full disclosure policy.
What Is a Sourdough Starter?
A sourdough starter is a mixture of flour and water that naturally captures wild yeast and beneficial bacteria from the environment.
As these microorganisms feed on the flour, they multiply and create the fermentation process that gives sourdough bread its signature rise and tangy flavor.
Unlike commercial yeast, which is purchased in packets or jars, a sourdough starter becomes your own homemade source of natural leavening. Once established, it can be used repeatedly to bake bread, rolls, pizza crust, pancakes, waffles, and many other baked goods.
Think of your starter as a living ingredient that requires occasional feeding and care.
Why Make Your Own Sourdough Starter?
There are several reasons people love making sourdough starter at home.
It’s Inexpensive
You only need flour and water to get started. Most people already have both ingredients in their kitchen.
It Improves Flavor
Sourdough bread develops a rich, complex flavor that many people find far superior to breads made with commercial yeast.
It’s Long Lasting
A healthy sourdough starter can last for years—or even decades—with proper care.
It’s Rewarding
There is something special about baking bread using a starter you created yourself. Many bakers become attached to their starter and even give it a name.
It’s Versatile
Beyond bread, sourdough starter can be used in countless recipes including:
- Pancakes
- Waffles
- Biscuits
- Pizza dough
- Pretzels
- Crackers
- Muffins
- Cinnamon rolls
Ingredients You’ll Need
Making a sourdough starter couldn’t be simpler.
Flour
Many bakers find that whole wheat flour helps jump-start fermentation because it contains more natural microorganisms.
You can use:
- Whole wheat flour
- Unbleached all-purpose flour
- Bread flour
- Rye flour
For beginners, I like starting with whole wheat flour for the first few feedings and then transitioning to unbleached all-purpose flour.
Water
Filtered water is often best.
If your tap water contains a strong chlorine smell, consider using filtered or bottled water since chlorine can inhibit fermentation.
Equipment You’ll Need
Gather a few basic supplies before you begin:
- Large glass jar
- Measuring cups
- Spoon or spatula
- Kitchen scale (optional but helpful)
- Clean towel or loose-fitting lid
- Rubber band (optional)
The rubber band can help mark the starter’s level so you can easily see when it rises.
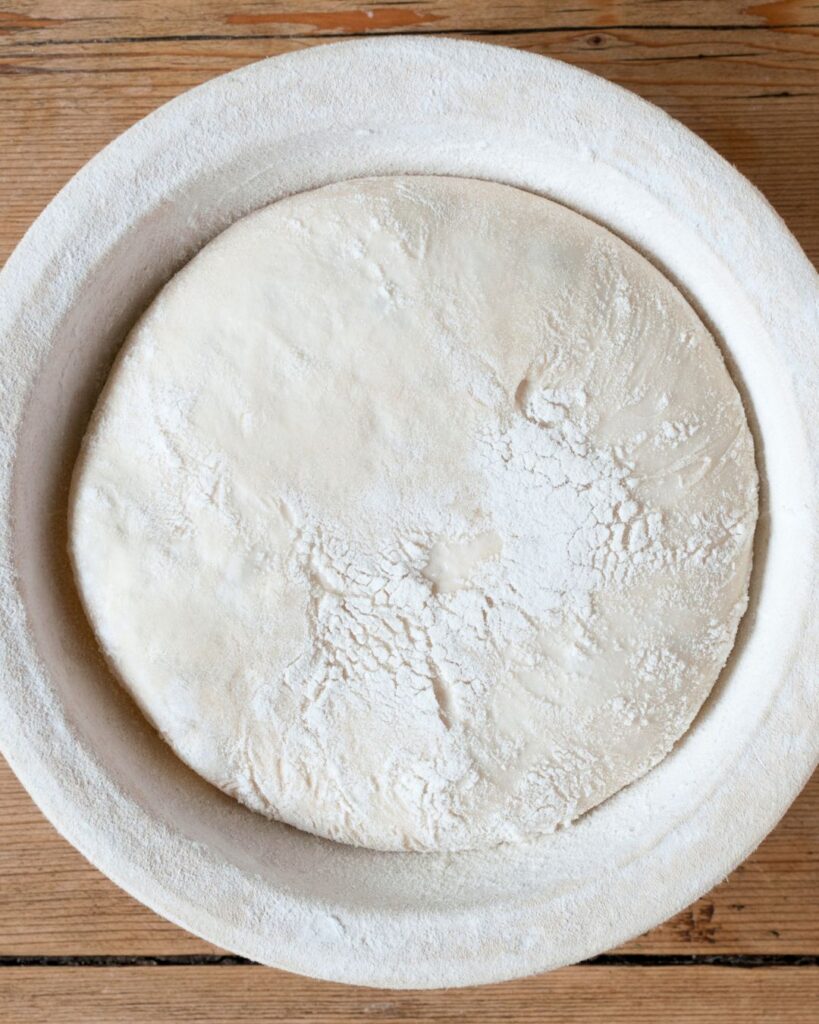
Day 1: Create Your Starter
The first day is incredibly simple.
In a clean jar, combine:
- ½ cup whole wheat flour
- ¼ cup to ⅓ cup water
Stir until a thick batter forms.
You want a consistency similar to pancake batter. If it seems too dry, add a little more water. If it appears too runny, add a bit more flour.
Cover the jar loosely with a lid or clean cloth.
Place it in a warm area of your kitchen, ideally between 70°F and 80°F.
Now comes the hardest part: waiting.
Day 2: Check for Activity
After about 24 hours, check your starter.
You may notice:
- A few small bubbles
- A slightly sour smell
- Little or no activity
Any of these outcomes are completely normal.
Even if you don’t see bubbles yet, continue with the process.
Discard about half of the mixture.
Add:
- ½ cup flour
- ¼ cup water
Stir thoroughly.
Cover and return it to its warm location.
Day 3: Signs of Life
By day three, many starters begin showing noticeable activity.
You may see:
- More bubbles throughout the mixture
- Slight expansion in volume
- Tangy aroma
This is exciting, but don’t celebrate too soon.
Many starters experience a burst of activity early in the process before appearing to slow down again.
This is perfectly normal.
Discard half the starter and feed again with:
- ½ cup flour
- ¼ cup water
Mix thoroughly.
Day 4: The Quiet Stage
A lot of beginners become worried around day four.
The starter often appears less active than it did on day three.
You might notice:
- Fewer bubbles
- Less rise
- Minimal visible changes
Don’t panic.
This stage is part of the natural development process.
Different microorganisms are competing and establishing balance within the starter.
Continue feeding once daily.
Discard half and add fresh flour and water.
Day 5: Building Strength
By day five, activity often begins increasing again.
Look for:
- Consistent bubbling
- Pleasant sour aroma
- Noticeable growth after feeding
Your starter should begin rising more predictably after each feeding.
At this stage, continue the feeding schedule and observe how quickly the starter responds.
Day 6: More Fermentation
The starter should now be developing a stronger yeast population.
You may notice:
- Larger bubbles
- Faster growth
- More pronounced sour scent
If your kitchen is cooler, progress may take a little longer.
Sourdough starters develop at different speeds depending on temperature, flour type, and environmental conditions.
Patience is key.
Day 7: Testing Readiness
After about a week, your starter may be ready for baking.
A mature starter should:
- Double in size within 4 to 8 hours after feeding
- Have plenty of bubbles
- Smell pleasantly sour
- Show consistent activity day after day
If it still seems sluggish, continue feeding for several more days.
Some starters require 10 to 14 days before reaching full strength.
How to Tell If Your Starter Is Ready
There are several clues that indicate a healthy starter.
It Doubles in Size
This is one of the most important signs.
After feeding, the starter should roughly double within several hours.
It Looks Bubbly
You should see bubbles both on top and throughout the jar.
It Smells Pleasant
A healthy starter often smells:
- Tangy
- Slightly fruity
- Mildly yeasty
It should not smell rotten or putrid.
It Passes the Rise Test
Feed the starter and observe its growth.
If it rises reliably after each feeding, it’s likely ready for baking.
Common Problems and Solutions
My Starter Isn’t Bubbling
Possible causes include:
- Cool room temperature
- Chlorinated water
- Inactive flour
- Insufficient feeding time
Move the jar to a warmer location and continue feeding.
My Starter Smells Bad
A strong sour smell is normal.
However, if it smells rotten, moldy, or truly unpleasant, it’s safest to discard it and start over.
Liquid on Top of the Starter
A grayish liquid called “hooch” may form on top.
This usually means the starter is hungry.
Simply pour it off or stir it in and feed the starter.
Mold Appears
If you see:
- Pink streaks
- Orange discoloration
- Fuzzy mold
Discard the entire starter immediately and start fresh.
How to Feed an Established Starter
Once your starter becomes active and reliable, regular feedings help maintain its health.
A simple feeding schedule:
- Discard a portion.
- Add equal parts flour and water.
- Stir thoroughly.
- Allow it to ferment.
Many bakers use a ratio such as:
- 50 grams starter
- 50 grams water
- 50 grams flour
This keeps the starter balanced and predictable.
Storing Your Starter
Room Temperature Storage
If you bake frequently, keep your starter on the counter.
Feed it daily.
Refrigerator Storage
If you bake less often, refrigeration is a great option.
Store the starter in the refrigerator and feed it about once a week.
Before baking, remove it from the fridge and feed it once or twice to reactivate it.
What Can You Make With Sourdough Starter?
Once your starter is mature, the possibilities are nearly endless.
Some favorite recipes include:
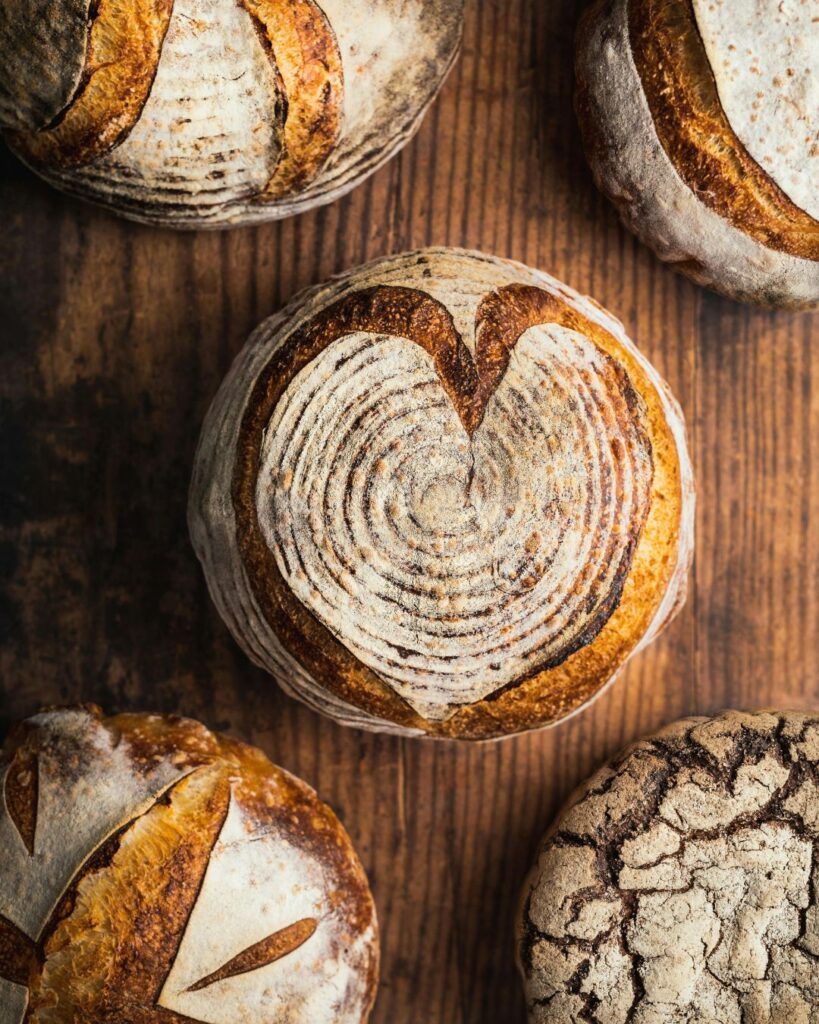
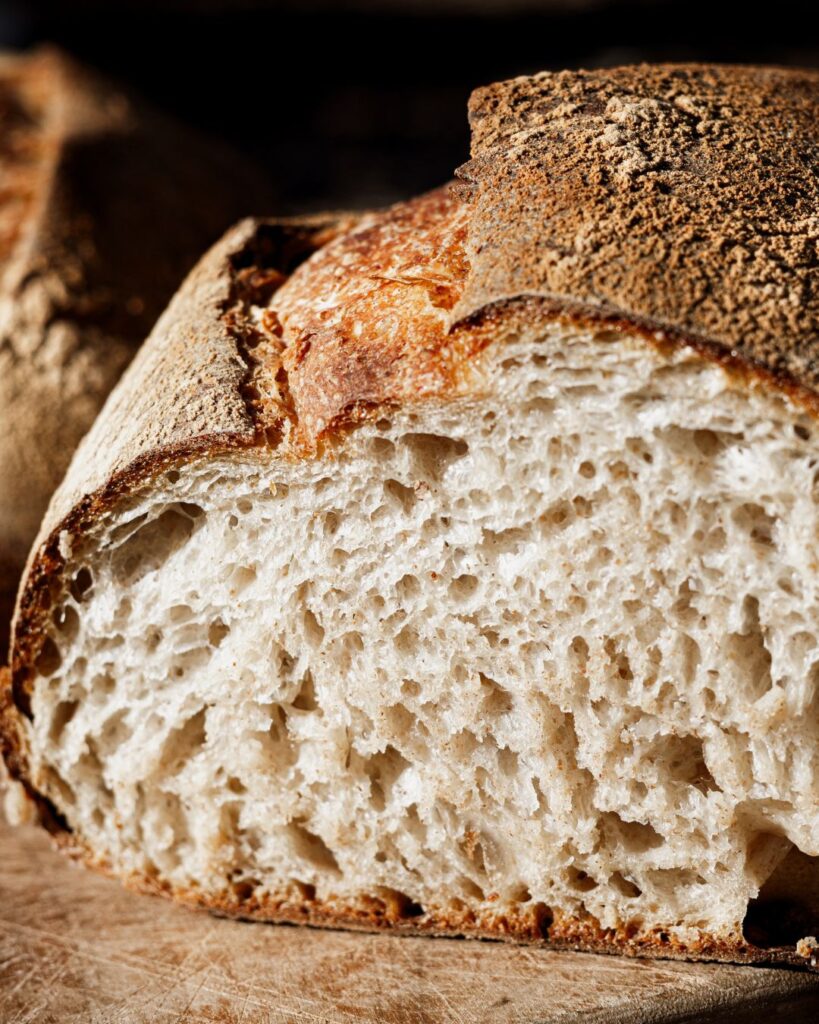
Sourdough Bread
The classic choice.
Crusty exterior, chewy interior, and incredible flavor.
Sourdough Pancakes
Light, fluffy, and slightly tangy.
Sourdough Waffles
A delicious breakfast option.
Sourdough Pizza Crust
Crispy, flavorful, and easy to make.
Sourdough Cinnamon Rolls
Soft, fluffy, and packed with flavor.
Sourdough Crackers
A fantastic way to use extra starter discard.
Tips for Sourdough Success
If you’re new to sourdough, these tips can help.
Be Patient
Most starter problems are solved with time.
Use Consistent Feedings
Regular feeding schedules create stronger starters.
Keep Notes
Track feeding times, flour types, and observations.
Use a Clear Jar
A transparent container makes it easier to monitor growth.
Don’t Obsess Over Perfection
Every starter behaves a little differently.
The goal is a healthy, active culture—not perfection.
Frequently Asked Questions
Can I Use All-Purpose Flour?
Yes. Unbleached all-purpose flour works very well for sourdough starter.
Does My Starter Need Sunlight?
No. Warmth matters more than sunlight.
Why Do I Have to Discard Starter?
Discarding prevents the starter from becoming too large and keeps the microorganisms balanced.
How Long Will My Starter Last?
With proper care, a starter can last indefinitely.
Many sourdough starters have been maintained for decades.
Can I Name My Starter?
Absolutely.
Many bakers give their starter fun names because it becomes a regular part of their baking routine.
Final Thoughts
Learning how to make sourdough starter is one of the most rewarding kitchen projects you can try. With just flour, water, and a little patience, you’ll create a living culture capable of producing delicious homemade bread for years to come.
The process isn’t complicated, but it does require consistency and time. Don’t worry if your starter doesn’t look exactly like someone else’s online. Every kitchen environment is different, and every starter develops its own personality.
Before long, you’ll have a bubbly, active sourdough starter ready to transform simple ingredients into beautiful loaves of bread, fluffy pancakes, crispy pizza crusts, and countless other homemade treats. Once you experience the satisfaction of baking with your own starter, you’ll understand why so many home bakers become lifelong sourdough enthusiasts.